Seller
L3D
Description
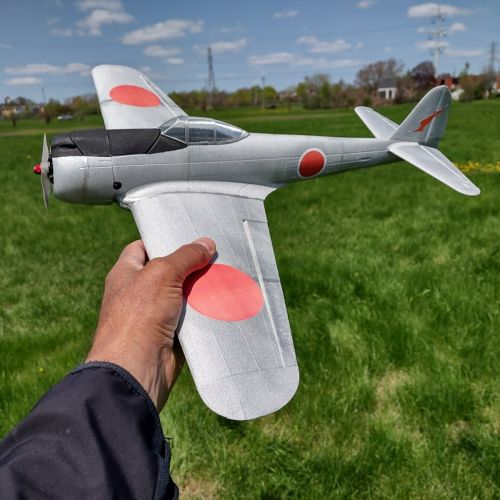
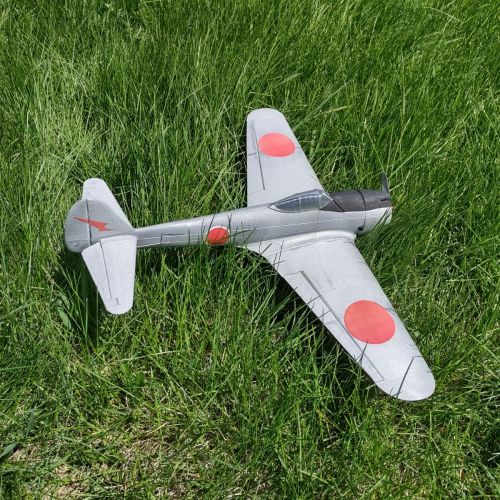
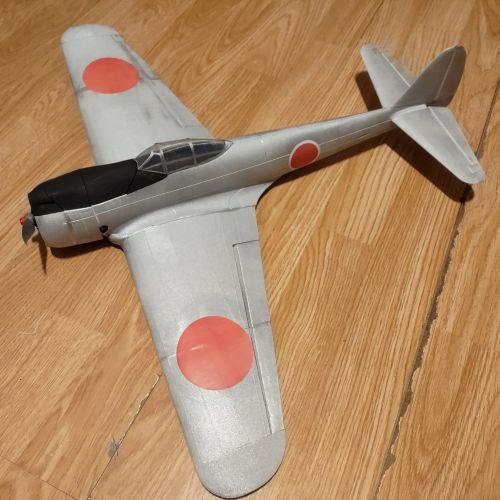
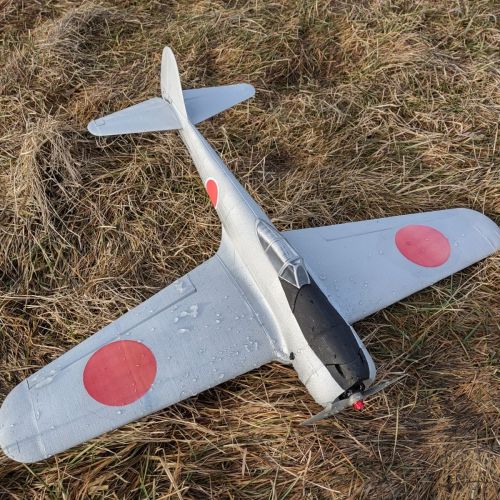
The Nakajima Ki-43 Hayabusa was better known under the US code name Oscar. Based on the Japanese experience in Manchuria, the army and its pilots wanted a super agile killer as a replacement for the Ki-27 Nate that had a fixed landing gear and open cockpit. The result was this airplane that became the Imperial Japanese Army main fighter during the first half of the WWII in the Pacific theatre.
The Hayabusa was often mistaken for an AM6 Zeke/Zero. Very light airframe, light armament, not much armor, nor self-sealing fuel tanks, but very agile and excellent turning rate due to its automatic flaps system. The 2nd generation, as the Ki-43 II, was much improved and was built in large numbers.
For more details on the development and history:
- https://en.wikipedia.org/wiki/Nakajima_Ki-43_Hayabusa
- https://www.youtube.com/watch?v=1FzA1aHHipk
- https://www.youtube.com/watch?v=p_6wahcOvqs
Check here to get a test file that will allow you to validate your ability to print and build this 600mm rendition of the Hayabusa:
https://cults3d.com/en/3d-model/gadget/ki-43-ii-hayabusa-oscar-wwii-fighter-600mm-l3d-test-print
Check out the RCGroup discussion for more information or to ask questions:
https://www.rcgroups.com/forums/showthread.php?4300383-Ki-43-II-Hayabusa-Oscar-WWII-fighter-600-800mm-%28L3D%29
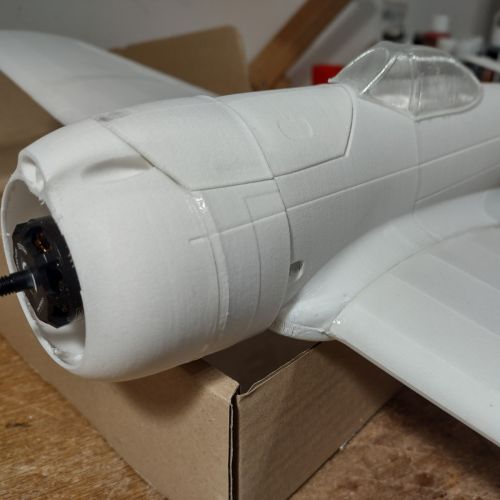
This 600mm wingspan rendition of the Ki-43-II is powered by a BR2205 with 2300Kv and is designed to be printed in LW-PLA, with a few key parts in PLA+, like the motor mount, spinner, servo and battery tray, propeller spinner. The design has carefully planned internal structures for LW-PLA slicing resulting in clean parts with minimal oozing. Major slicer support is provided to quickly print clean parts.
Like with my recent designs, larger versions are planned, including an 1200mm for a 4108 on 6S and an 800mm wingspan version aimed at the BR2208/2212 outrunners or a 2507 drone motor, followed by a 1:12 version. Check out my product page for more information on those upcoming versions. These instructions will focus on the 600mm rendition.
Included with this file:
•Factory files for Simplify3D v4
•Cura 4.13.1 3MF files
•Valid STL files for all components
•Assembly manual and user guide
•Sample markings
UPDATES: TBD
FLIGHT VIDEO:
1st flight on 2023-03-27: https://youtu.be/mjFT7oreDuo
Print time: 100hrs
Print weight: 90g LW-PLA, 13g PLA
RTF AUW: 252g with 3x3.7g servos, 2205 2300Kv, 3S 550mAh, 4.7x4 prop.
REQUIRED COMPONENTS:
X1 2205 2300Kv Motor
X1 15-20AMP ESC
X1 500MAH 3S LIPO (or 900mAh 2S)
X3 3.7G Micro Servo (X4 if installing working rudder)
X1 4ch+ Micro Receiver
X13mm carbon rod (1x 250mm wing joiners)
X12mm carbon rod/round toothpicks (stab joiners)
X41.5mm carbon rod (fuselage stiffeners)
X1 1mm Music Wire (pushrods and elevator torque rods)
X46x2mm Magnets (cylinder shape)
X4 M3x10mm screws (fix the motor mount to firewall)
CA Hinge Sheet
Velcro (sticky back)
Some extra 1.75mm PLA filament (locating pins and possibly the fuselage stiffeners)
OPTIONS
-Parts are provided to install a functional rudder.
3D PRINTING SETTINGS
3D PRINTING SETTINGS
PRINT VOLUME:
200x200x210
Best to print 1 part at a time, especially for LW-PLA for optimum print quality and no oozing.
LW-PLA parts
•Print head = 250 deg c
•Print bed = 60 deg c
•Retraction distance to 0, you may need Extra Restart and Coasting.
•Fan set to 0%.
•For most Wing/Tail parts: 2 bottom layers, 0 top, 1 wall, 35% extrusion
For Fuselage parts, F3-F6, 100% fill up to 0.5mm, then 1 wall, no bottom, no top
F0; 3 wall, no bottom/top, 45% extrusion
F1; 100% fill up to 2mm, then 1 wall, no bottom, no top, 65% extrusion.
The Ailerons are tall and thin; if your printer tends to wobble then you might prefer to printer the ailerons with the scalloped braces to reduce significantly poor print quality at the top of these parts.
PLA/PLA+ parts
•Print head = 210/220 deg c
•Print bed = 60 deg c
Video
Offer to Buyer
Check the following RCGroup thread for sharing and support.
https://www.rcgroups.com/forums/showthread.php?4300383-Ki-43-II-Hayabusa-Oscar-WWII-fighter-600-800-900mm-1-12-(L3D)
Rating & Reviews
Based on 0 Ratings
- 5 Star
- 4 Star
- 3 Star
- 2 Star
- 1 Star


