Seller
L3D
Description
3D MODEL DESCRIPTION
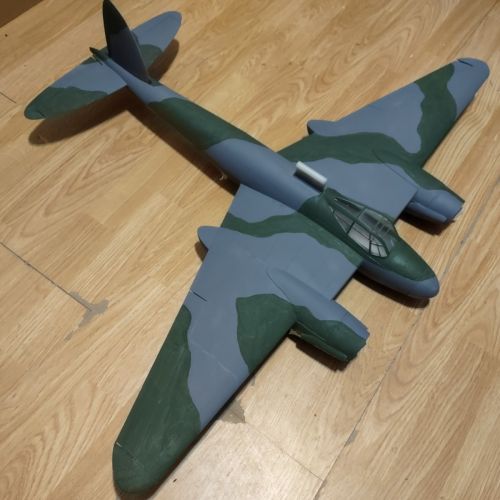
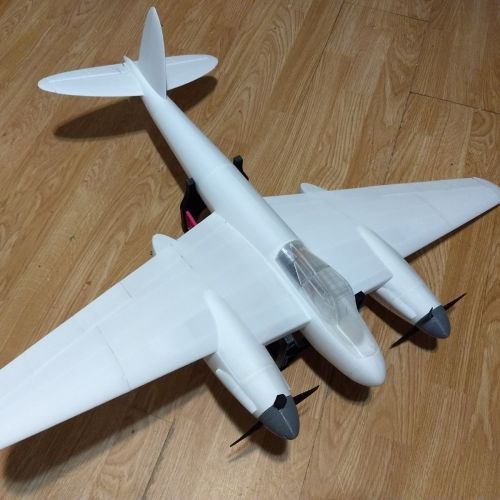
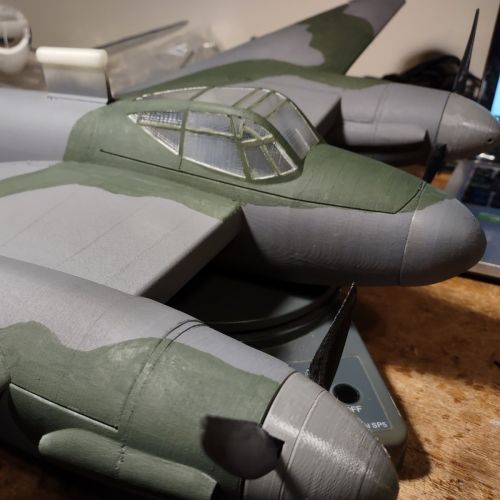
This is an Add-on entry for the De Havilland DH.98 Mosquito WWII bomber offered on Cults3D by GozzLabs. No flaps nor retracts and designed for hand-launch. You will need to acquire the following to complete this R/C warbird:
https://cults3d.com/en/3d-model/various/de-havilland-mosquito
Included with this file:
• New STL files for fuselage, tail feathers, spinners
• Factory files for Simplify3D
• Assembly manual and user guide
• Sample markings - TBD
UPDATES:
2021-12-10: Updated nose cone (F0) to install counter-balance lead. CG at 50mm is OK but sensitive elevator. 45mm likely better.
2021-10-27: 2mm torque wire to link elevator halves. Updated spinner for printed props.
2021-11-23: Added an optional working rudder and matching fin. Check for files FinB/RudderB.stl. Passing pushrod and servo installation is left to the builder.
FLIGHT VIDEO:
1st flight of DrGozz's prototype: https://www.youtube.com/watch?v=FM2ueCcU0fk
1st flight of my prototype: https://youtu.be/enNszQyiyn8
Wingspan: 930mm
All-up weight: 690g
Print time: 50hrs
Print weight: 350g
REQUIRED COMPONENTS:
X2 2212 1400Kv Motor (or similar)
X2 20-30AMP ESC
X1 1300MAH 3S LIPO minimum, 2200mAh 3S pack will fit
X3 9G Micro Servo
X1 4ch+ Micro Receiver minimum
X2 Bamboo Skewers (Locating pins, pushrod)
X1 5mm (optionally 6mm) carbon tube, 400mm long (wing spar)
X1 3mm carbon rod, 500mm long (2 aileron hinges)
X1 6x2mm Magnets (cylinder shape)
Velcro (sticky back)
CA Hinge Sheet (for the elevator)
X8 M3x10mm screws and nuts (motor mount)
OPTIONS
- 3-bladed hub using 6x4.5in printed props
- 2-bladed spinner with built-in fan
PRINT VOLUME: 200x200x250
All the parts will fit in a 200x200x250 printer. For LW-PLA, it is best to print 1 part at a time.
My designs are always evolving with feedback from builders and flight testing. For any questions and assistance please use the RC-Group thread:
https://www.rcgroups.com/forums/showthread.php?3958361-DRGozz-Mosquito-1b
3D PRINTING SETTINGS
LW-PLA parts
• print head = 250 C
• print bed = 60 C
Cooling fan can be run for each layer at 100%, starting at layer 4 for better adhesion to the bed.
Video
Rating & Reviews
Based on 0 Ratings
- 5 Star
- 4 Star
- 3 Star
- 2 Star
- 1 Star


